


Configuring communication protocols
The user can configure a panel project manually in Panel Builder editor when there is a need to create individual panel projects. Otherwise, the configuration is updated in the panel project while launching Panel Builder editor in Automation Builder.
-
In the Panel Builder project structure, double-click “Config Protocols”.
-
Click
 to add a protocol.
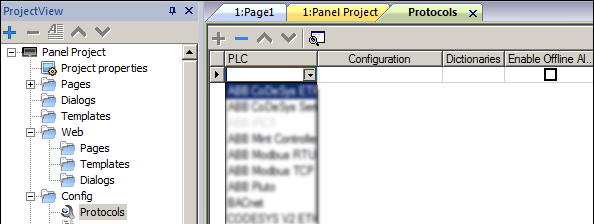
-
Select “OPC UA Client” to ensure an encrypted communication between the PLC and the control panel. This is necessary to protect passwords and other data in terms of cyber security.
Set the IP address, port, protocol type and PLC models. Click [OK].
Importing tags
-
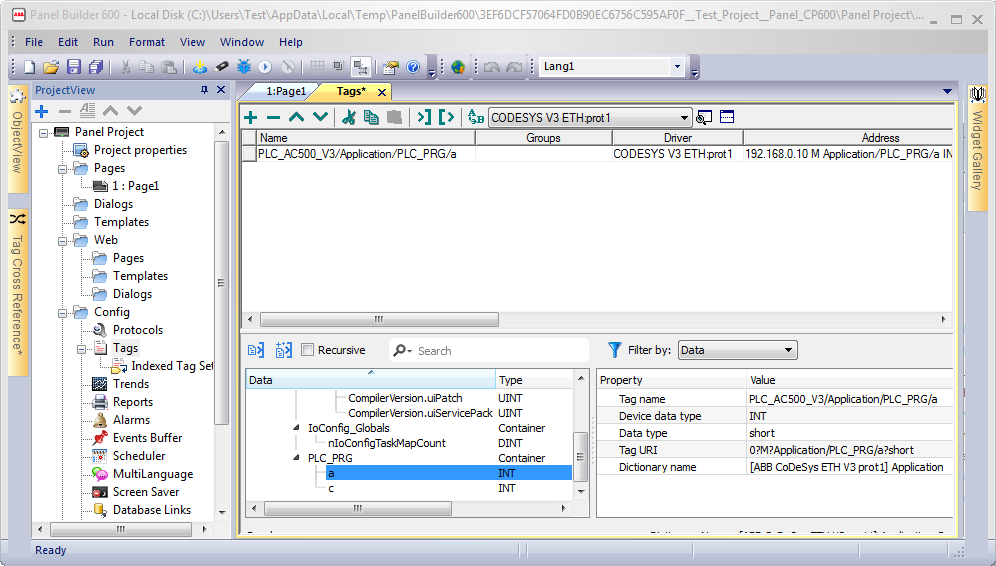
In the Panel project view, click “Config Tags”.
-
Select the protocol from the drop-down list and click
 to import tags.
 If the Panel Builder contains multiple tag importers, a dialog is displayed to select the required importer type.
-
Select the symbol file which was exported to the file system.
-
In the lower part of the tag editor, mark the desired tags and click “Import Tag (s)” to import the tags to the Panel Builder project.
Attaching tags to widgets
-
In the project view, expand “Pages” and double-click Page1.
-
In the Panel Builder 600 main menu, select “View Toolbars and Docking Windows Widget Gallery”.
-
Drag-and-drop the desired widget to the page editor.
-
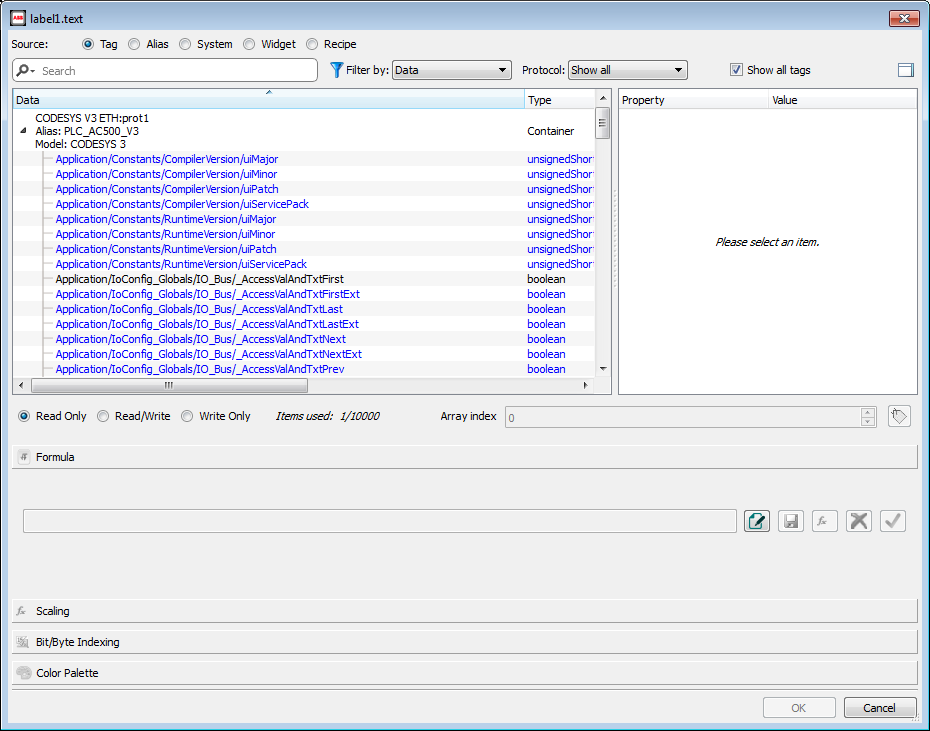
Right-click on the widget value and select “Attach To” to attach a tag to the widget.
-
Select the desired tag and select the desired option for the authorization “Read Only” or “Read/ Write” or “Write Only”. Then, click [OK].
Downloading a project to panel
-
In the Panel Builder main menu, click “Run Download To Target”.
-
Select the CP600 project from the drop-down list and click “Download”.
Importing an existing Panel Builder project
-
In the Automation Builder device tree, right-click the Panel project and click “Import Panel Builder Project”.
System prompts to overwrite the exiting project object data.
-
Click “Yes” to confirm.
-
Select the existing Panel Builder 600 project from the file system and click “Open”.
The imported project is displayed.
Exporting Panel Builder project
-
In the Automation Builder device tree, right-click the Panel Builder 600 project and click “Export Panel Builder Project”.
-
Click “Browse” and select the desired location in the file system and save the project file.
A success message is displayed, if the project file exports successfully.
When you double-click the Panel Builder project node, the compressed information of the node is extracted into a temporary folder and then the external Panel Builder program is started. After the external Panel Builder program is closed, the corresponding Panel Builder files can be compressed back into the node and saved in the Automation Builder project.
We recommend to edit the Panel Builder project by starting Panel Builder through the Automation Builder. You can also export a Panel Builder project to the file system to edit the project by using the external Panel Builder. Then, reimport it to Automation Builder.